 Making ferments is all about encouraging the proliferation of lactic acid bacteria. This is achieved by getting the vegetables submerged under liquid, under their own juices and away from the air supply. Thus preventing the growth of moulds and of oxygen dependent bacteria (the bacteria that we don’t want). Create the right environment and the lactobacilli will do all the work.
 As Sandor Katz puts it; there are five crucial stages…
- Chop
- Salt
- Pound
- Pack
- Wait
Chop
Either use a knife to chop the vegetables or a grater. If you are making big batches you can buy large cabbage shredders on line from Germany or USA. By chopping you are breaking down the cell walls which hold in water and you are increasing the surface area from which the juices can be released. This is really important as submerging the vegetables under their own juices is the key to success. Coarse chopping and a mix of textures makes the mix more interesting.

Salt
Salt is used for several reasons. Firstly it changes the salinity of the mix and this kills off a lot of bacteria (the ones that we don’t want). This is the reason why salt has been used as a preservative for such a long time. Luckily the lactic acid bacteria are salt tolerant and so with a free reign they can really thrive and multiply. Secondly salt pulls water out of the vegetables by osmosis. We really want the water to come out of those vegetables. Finally it helps to keep the vegetables crispy by slowing down the pectin digesting enzymes, which turn the vegetables mushy.
I recommend using a coarse sea salt. If you are concerned about your salt intake you can try using whey, which contains lots of lactic acid bacteria and lactic acid and so gives the product a head start.
Pound
Now it is time to bash, bruise, pound, squeeze the vegetables. Do this in a bowl or a bucket. If you are working on a vegetable like a carrot you can do a lot of this work with your hands, if you are using cabbage you will need a tool to help you. You can use a flat end of a rolling pin, a pestle (from a pestle and mortar) or you can purchase a wooden meat hammer. Once again the aim of this is to get as much of the juices out of the vegetables as you can. This will probably take about ten minutes, do not skip on this process.
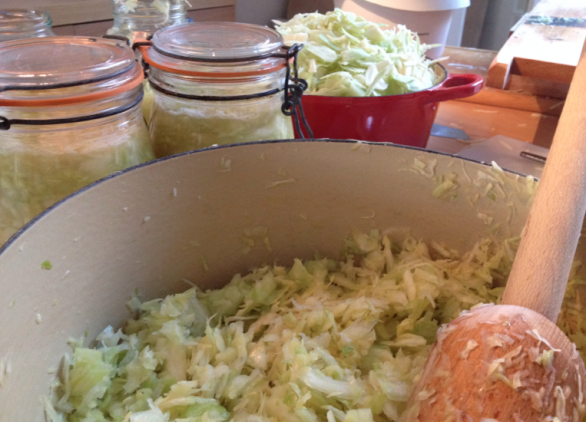
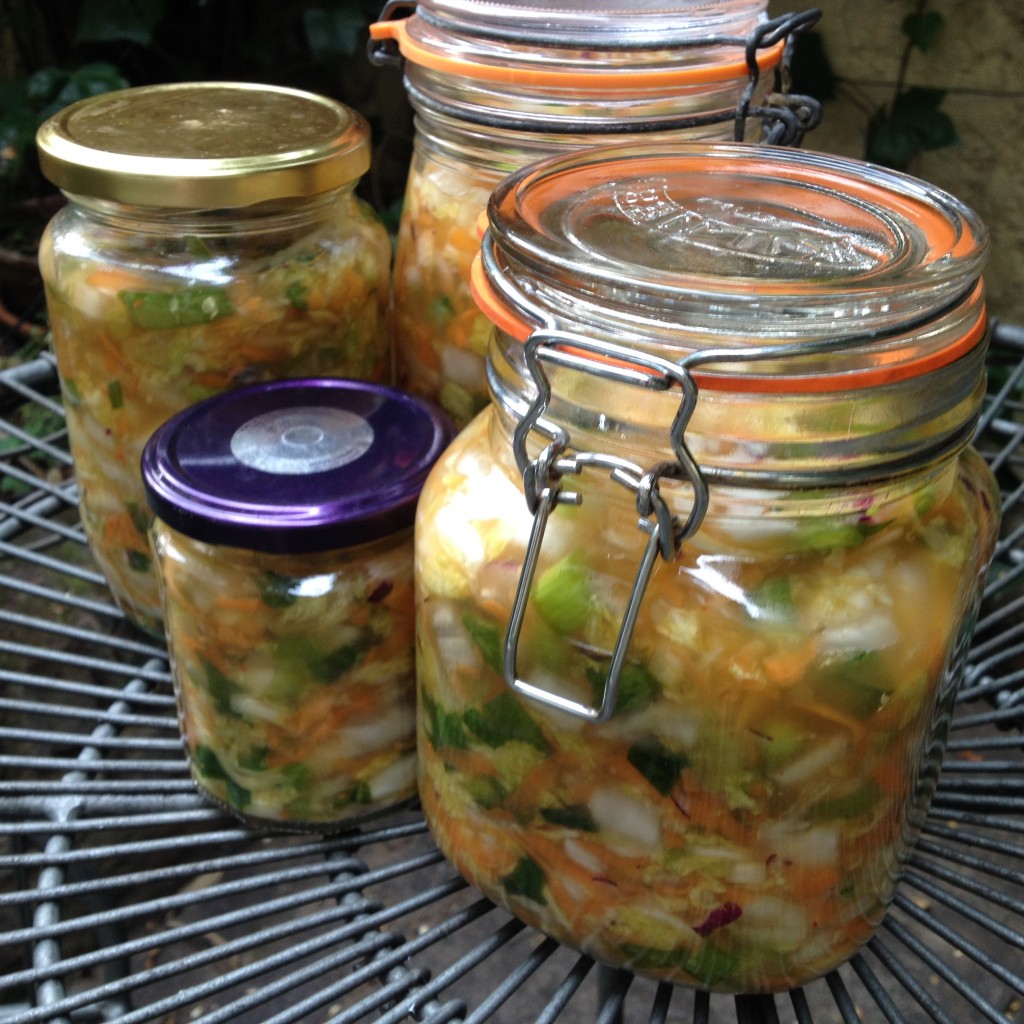
Pack
Start to pack the mix into previously sterilised (boiling water) glass jars. It is not such a good idea to use metal (acid corrosion) or plastic (chemical leaching) for storing ferments, although it is fine to serve them in dishes made of these materials. Pack the vegetables in tightly, regularly press down all the way around the edge of the jar with a fork or spoon. This is to expel any pockets of air as an environment without oxygen is required and is critical for success. Only fill the jar to about 1 cm below the top, leave room for the carbon dioxide which will be produced as the product ferments
Make sure that the liquid just about covers the mix below. If there is not quite enough then add a little water. It is important not to use tap water as it contains antimicrobial properties such as chlorine. Either boil the tap water for 5 minutes and allow to cool before using, as heat can also kill off the beneficial bacteria, or use filtered water. Seal the jar and leave out at room temperature.
Wait
Fermentation will produce CO2, particularly in the first few days. This will cause the pressure in the jar to increase. Release this pressure by momentarily loosening the jar lid for a moment. You may hear or smell the gases release. If you do not do this each day the jar may bulge and it may become very hard to then loosen the lid. It is possible that it could explode so do not put the jar next to your most precious possessions. Clamp jars are great as the clamp can be released. After a few days CO2 will continue to be released but at a much slower rate.
Protect from direct sunlight but ideally you do not want total darkness at this stage either. I would suggest leaving the ferment out for 1 week and then tasting it. If you are happy with it you can then transfer it to the refrigerator or if not leave it out for another few days and then try again. You can eat the product after just a couple of days but then then fermenting process has only really just started. In hotter weather fermentation will happen quicker. It is a little more tricky in winter to balance between the cold weather and the central heating – choose a place where you think it will be snug and experiment.
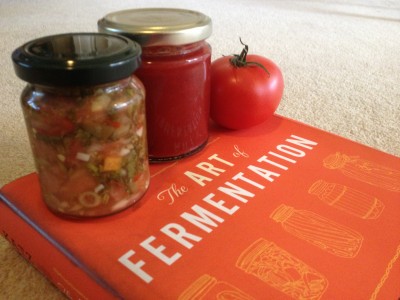
Discover the world of the fermentos in The Art of Fermentation by revivalist Sandor Katz.
Thanks for your fermentation workshop at Festival of Life on Saturday… it inspired me to go home and make my own yogurt!
There are plenty of recipes on the net for people to follow. My own tip is to cook a litre or two of milk in a bain-marie for an hour or two… the bain-marie stops the milk overheating, and the prolonged cooking evaporates off some of the water. This makes the yoghurt thicker / creamier and give it a slightly caramel taste. The wider the bain-marie the quicker the evaporation (but it will still take a while)… experiment to taste.
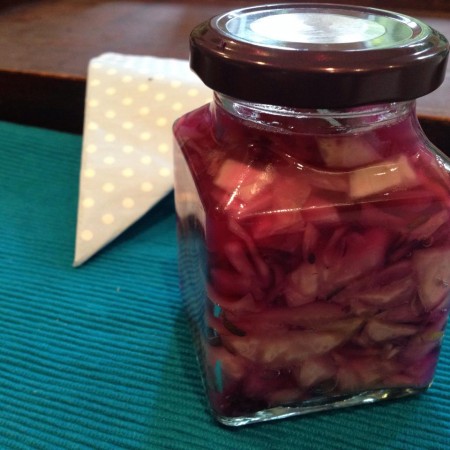
Thanks for the sauerkraut from the festival of life workshop! Finished it already but now have the knowledge to make my own!
Great information girls!
Susan x
Pingback: Kimchi – spicy Korean sauerkraut | Katie Clare
Pingback: how to make sauerkraut?